- Identify >
- Download >
- Install
Select a different product type:
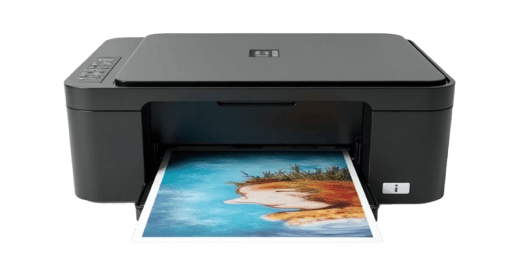
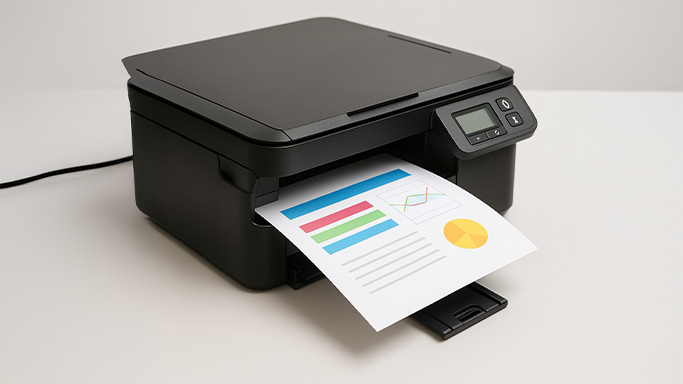
Easy Printer Setup
Start your printer installation in minutes.
Follow our step-by-step 123 easy printer setup & install guide to download drivers, configure Wi-Fi, and bring your printer back online instantly.
Printer Setup
& Install
Fix Printer Offline
Issues
Fix Wi-Fi & Driver Problems
Fix Paper Jam
Errors
Update Your Printer Driver
Fix Scanner
Malfunctions
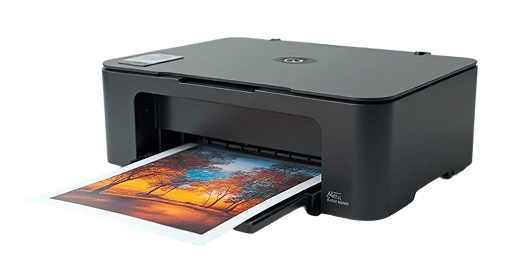
Fast & Simple 123 Easy Printer Setup Guide
Start your 123 easy printer setup right here. Our streamlined guide walks you through downloading drivers and connecting to Wi-Fi to ensure your new or existing printer is configured and ready to print without the hassle.

Download the Latest Software
Get the latest printer drivers and software designed for optimal performance and compatibility. Always download the official version to ensure smooth installation and reliable printing results.
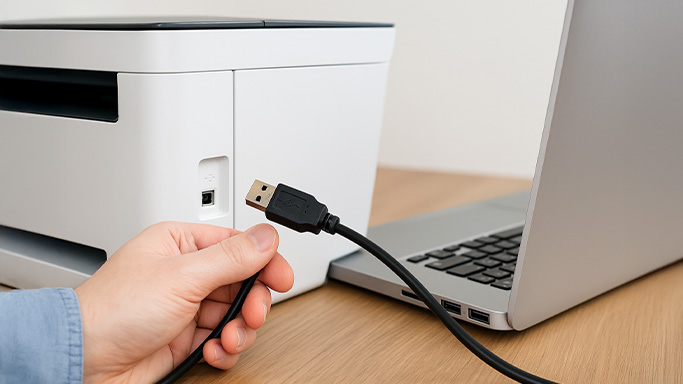
Connect Your Printer
Connect your printer via USB cable or Wi-Fi network using the printer’s setup options. For wireless connections, make sure your printer and device are on the same network before proceeding.
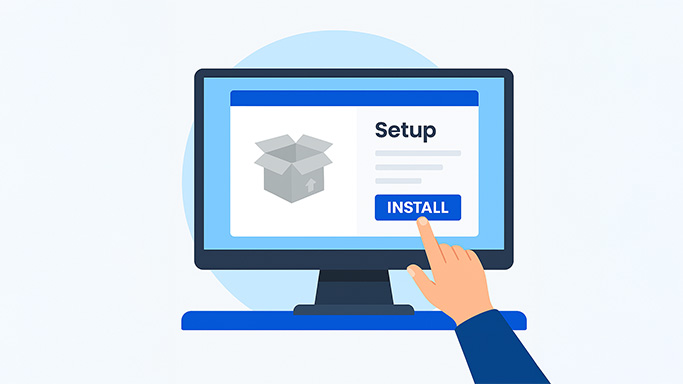
Install the Printer Drivers
Run the downloaded setup file and follow the on-screen instructions to install the required drivers. This ensures your printer communicates correctly with your computer or mobile device.
Test the Printer
Once installation is complete, print a test page to confirm that your printer is working properly. Adjust settings as needed for the best print quality and performance.
Your 123 easy printer setup doesn’t have to be complicated. Follow this detailed guide to install, connect, and configure your device successfully. Each step includes visual guidance and expert troubleshooting tips to ensure your printer is running smoothly in minutes.
Step 1: Unbox and Prepare Your Printer
- Carefully remove the printer and all accessories from the box.
- Remove all protective materials and tapes.
- Place the printer on a flat, stable surface near your computer or Wi-Fi router.
- Plug in the printer and power it on.
- Wait until the printer completes its initial startup and alignment.
Troubleshooting Tip:
If the printer doesn’t turn on, double-check the power cable and wall outlet connection. Avoid using surge protectors or extension cords for the first setup.
Step 2: Download the Latest Software
- Visit the official support page or use the installation CD (if provided).
- Download the latest printer driver and setup utility compatible with your operating system (Windows, macOS, etc.).
- Save the file to your desktop or downloads folder for easy access.
If the download fails, check your internet connection or temporarily disable antivirus software that might block downloads.
Step 3: Connect Your Printer
Option A – USB Connection:
- Plug the printer directly into your computer using a USB cable.
- Wait for the system to detect the printer automatically.
Option B – Wireless Connection:
- On the printer’s control panel, open Wi-Fi Setup or Network Settings.
- Choose your Wi-Fi network and enter the password.
- Confirm the connection on-screen or via printer light indicators.
Step 4: Install the Printer Drivers
- Run the downloaded setup file and follow on-screen instructions.
- Choose your preferred connection type (USB or Wireless).
- Wait for the software to detect and configure your printer.
- Complete the setup and restart your computer if prompted.
Troubleshooting Tip:
If the printer isn’t detected, switch USB ports, try a different cable, or disable background antivirus temporarily during installation.
Step 5: Print a Test Page
- After setup, open your printer settings and select Print Test Page.
- Confirm that the printer produces a clean, aligned page without errors.
Troubleshooting Tip:
If the test page doesn’t print, ensure the correct printer is selected and that ink or toner cartridges are properly installed.
Step 6: Set Default Preferences
- Open Printers & Scanners from your computer settings.
- Set your new printer as the default.
- Adjust preferences like paper size, print quality, and orientation.
Troubleshooting Guide — If Setup Fails
If your printer doesn’t connect or install properly, follow these advanced steps.
1. Reconnect and Restart Devices
- Disconnect the USB cable or Wi-Fi connection.
- Restart both your printer and computer.
- Reconnect and rerun the installation software.
2. Check USB Ports & Cables
- Try a different USB port or use a verified working cable.
- Avoid using USB hubs or splitters.
- If still not detected, test the cable with another device.
3. Power Reset the Printer
- Turn off the printer and unplug it from the wall outlet.
- Wait 60 seconds, then reconnect directly to a wall socket.
- Turn it back on and attempt setup again.
4. Uninstall Old or Conflicting Drivers
- Go to Control Panel → Programs → Uninstall a Program.
- Remove any previous printer software.
- Restart your computer before reinstalling.
5. Clear Temporary Files
- Search and open Disk Cleanup on your PC.
- Select drive C: and remove temporary setup files.
6. Clean Boot Mode (Windows Only)
- Press Win + R, type msconfig, and hit Enter.
- Select Selective Startup → Uncheck Load startup items.
- Under Services, check Hide all Microsoft services → Disable all.
- Restart your PC and retry setup.
7. Use Device Manager to Update Drivers
- Search Device Manager → Expand Printers or USB Controllers.
- Right-click your printer → Update Driver → Search automatically.
Struggling with your printer? Talk To A Technician Now.
If you’re still facing issues after completing these steps, our certified support team is ready to help. Connect with our online experts for real-time troubleshooting, personalized guidance, and fast solutions to get your printer running perfectly again.